So I heard somewhere that it was super easy to reupholster an office chair. I had my doubts but here is the proof that it is, in fact, VERY easy!
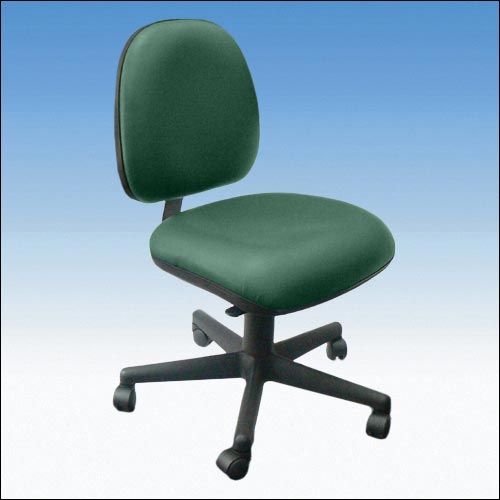 |
| I started with a chair exactly like this! Eww! |
 |
| And ended up with this! Yay! |
- You will need a fabric made for upholstery. (Found mine at Joann's)
- Spray Glue (I used Aleene's Crystal Clear Tacky Spray) There are fabric glues out there, but I didn't have any on hand and I didn't feel like driving back to Joann's
- Staple gun and 3/8" staples (recommended by guy at Home Depot)
- Screwdriver
- Another person with strength will be very helpful!

Glue that I had on hand :) Seemed to work just fine

Love the black and white! Hope I don't spill coffee on it!


Let the fun begin! Turn your chair over and unscrew the bottom and back of the chair from the base. Mine only had four screws and a large knob on the back. Make sure you know where all the screws will go so you don't have issues later!
 |
| Sorry for the bad picture! 4 screws only! So easy! |
Once the backing is off, you'll see that the original cloth is only stapled on and that's exactly what you are going to do. Measure out your fabric. I cut mine very generously, but in hindsight, I probably didn't have to waste so much. If the cloth has a pattern, make sure you center the pattern before you cut.
Spray the glue directly onto the original fabric and lay your new pretty fabric on top, adjusting for the pattern. The glue is to make sure you get the indent of the original pad, not so much for sticking the cloth down to the pad. However I did notice that the glue helped keep the cloth in place when I was stapling.
Now, turn it over and start stapling. You need to make little gathers on the curves of the pad. Make sure to press the stapler tight against the chair. I didn't always remember and so the staples didn't always take. Make sure the fabric stays smooth on the pad side.

Once your finished stapling, cut the fabric so that none of the holes for the plastic backing or the screws are covered.
 |
| Cut around all the holes. |

 |
| Voila!! |

I hope you guys liked my first tutorial. I hope to post many more! Happy upholstering!